How to Master Lost Wax Casting Stainless Steel Techniques?
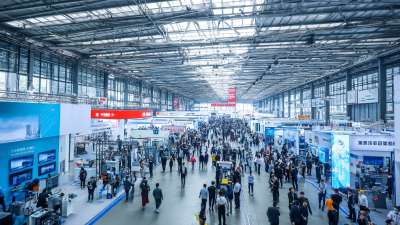
Lost Wax Casting Stainless Steel has been a pivotal technique in metalworking for centuries. This method enables artisans to create intricate designs that traditional casting often cannot achieve. According to a report by the International Journal of Metalworking, the global market for Lost Wax Casting Stainless Steel is projected to grow by 5% annually, driven by demand in the automotive and aerospace industries.
Industry expert John Carpenter notes, "Precision in lost wax casting can redefine possibilities in stainless steel fabrication." This highlights an essential aspect of the skill: mastery requires both patience and practice. While the process is often straightforward, variations in wax material, mold construction, and heat control can lead to unexpected results. Sufficient attention to these details is crucial in achieving the desired outcomes.
The journey to mastering Lost Wax Casting Stainless Steel is also marked by reflection on failures. Even seasoned professionals encounter challenges that test their resolve. A single misstep can disrupt a production run. This serves as a reminder that the art of casting is a blend of science and creative intuition, constantly evolving with each project.
Understanding the Basics of Lost Wax Casting in Stainless Steel
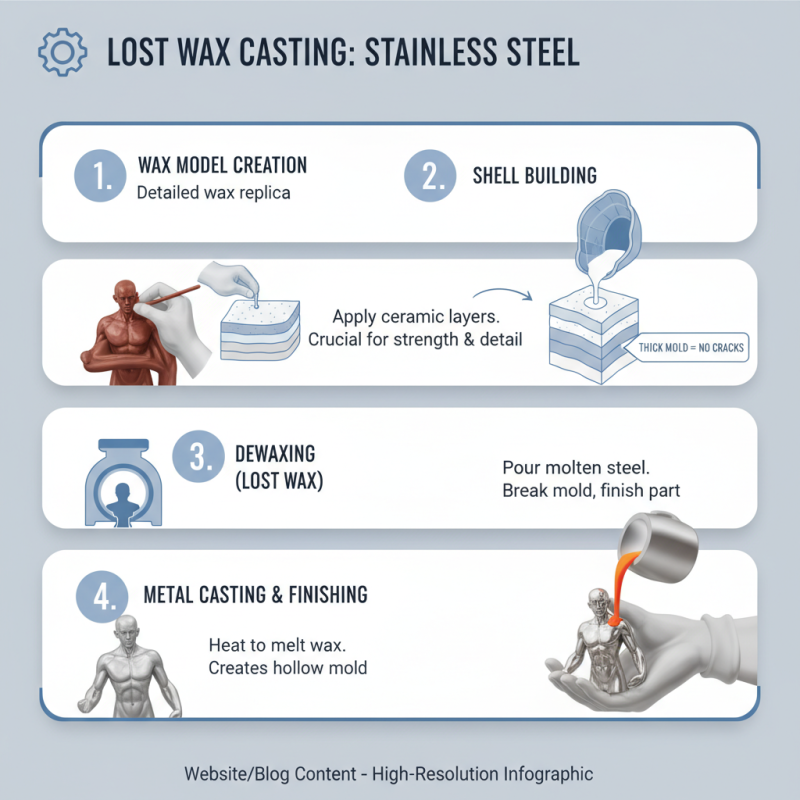
Lost wax casting, or investment casting, is a fascinating technique often used with stainless steel. Understanding the basics is crucial for beginners. This method starts with a wax model, which is intricately detailed. The model is then coated in a ceramic shell. Once the shell hardens, the wax is melted away. This leaves a hollow mold that captures the exact details of the original model.
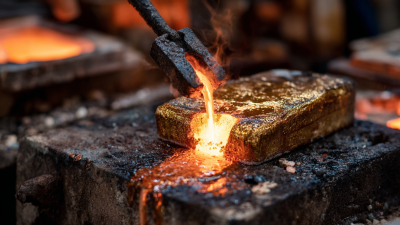
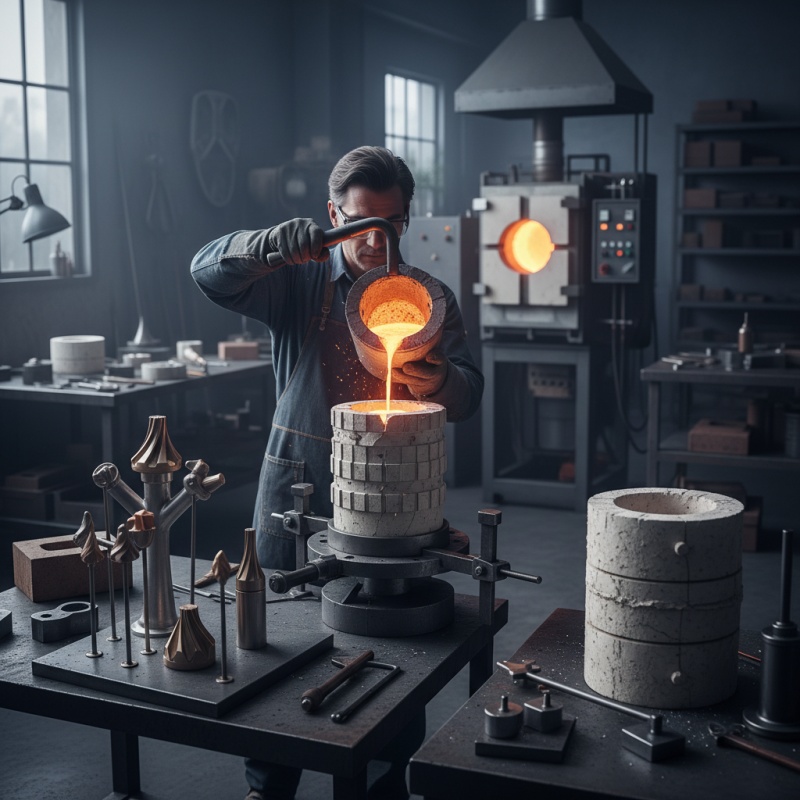
After creating the mold, molten stainless steel is poured in. Temperatures can exceed 2500°F, making safety essential. The process can be flawed. Sometimes, air bubbles form or the mold cracks, disrupting the final piece. These issues remind artists to pay attention to detail and adjust techniques accordingly.
The cooling process is critical as well. If cooled too quickly, the metal may warp. Patience is key here. Each pour is a chance to refine skills. Embracing mistakes is part of mastering this craft. Lost wax casting is not just a technical procedure; it is an art form requiring practice and dedication.
Essential Tools and Materials for Lost Wax Casting Process
Lost wax casting is an intricate process, especially with stainless steel. To succeed, you need specific tools and materials. One essential item is the wax model. It’s the foundation of your casting. You can create it using various wax types tailored for your design.
Tools like a furnace are crucial. They help melt the metal to the required temperature. You also need a quality casting flask. This holds the wax model while the investment material sets. Silica sand or investment compounds are often used. They create the mold around the wax model.
Don’t overlook the finishing tools. Files and sanders help refine the final product. Mistakes are common in this process. You might overheat the wax or not achieve proper mold strength. Learning from these errors is vital for mastering this technique. The journey is rewarding but requires patience and practice.
How to Master Lost Wax Casting Stainless Steel Techniques? - Essential Tools and Materials for Lost Wax Casting Process
| Item |
Description |
Purpose |
Material |
| Wax Model |
A model made from wax to create a mold |
To form the initial shape of the final product |
Wax |
| Investment Material |
A material that forms the mold around the wax model |
To create a heat-resistant mold |
Gypsum or Silica |
| Casting Flask |
A container for holding the investment material |
To support the mold during the casting process |
Metal or Heat-resistant Plastic |
| Melting Furnace |
A furnace to melt stainless steel |
To melt the stainless steel for casting |
Electric or Gas |
| Centrifugal Casting Machine |
Machine that uses centrifugal force to fill the mold |
To ensure uniform filling and density of casting |
Metal |
| Polishing Tools |
Tools used to finish and polish the cast product |
To achieve a smooth, shiny surface |
Various Materials |
Step-by-Step Guide to Creating a Wax Model for Casting
Creating a wax model for lost wax casting is an art form that requires patience. Start with high-quality wax. This will ensure that your model holds its shape well during the casting process. Use a wax carving tool to shape the model, carving out details carefully. Small tools help reach intricate areas. Take your time here; rushing can lead to mistakes.
Once the basic shape is achieved, refine the surface. This can involve smoothing and adding textures. Remember, it's normal for imperfections to arise. Instead of discarding a flawed section, adjust and integrate it into your design. After finishing the wax model, it's essential to create a sprue. This is a channel for the molten metal. Make sure it connects well with your model.
Next, prepare for the next stages of the process. Cover the wax with investment material to create a mold. Allow it to harden completely. It's crucial to follow the drying times. If rushed, cracks may form later. Each step demands focus and reflection. Mistakes are part of learning, shaping your skills in this intricate process.
Stainless Steel Lost Wax Casting Techniques: Time Investment vs. Skill Level
This chart illustrates the relationship between the time investment required for different stages of the lost wax casting process and the corresponding skill level needed to execute each stage successfully. As one progresses through the stages, both time investment and skill level increase.
Techniques for Shell Building and Wax Removal
Lost wax casting is a fascinating technique, especially with stainless steel. The process revolves around shell building and wax removal. Shell building is crucial, as it determines the detail and strength of your final piece. Begin by creating a mold that accurately captures all features of your wax model. Ensure the mold is thick enough to withstand the heat during casting. Too thin, and it may crack.
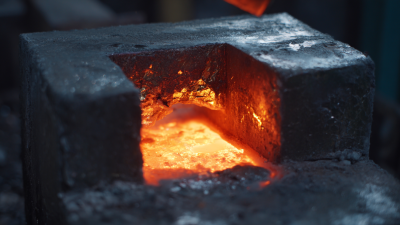
Wax removal is another key step. After creating your shell, it’s essential to heat it correctly. If the temperature is too low, the wax won't fully melt away, leaving residues. If it’s too high, the shell might warp, losing the mold's integrity. Experiment with different heating times. This phase often requires patience and careful observation.
Tips: When building your shell, consider layering techniques. Each layer should be thin to allow better adhesion. This method enhances strength and detail. During wax removal, ensure a gradual increase in temperature. Rapid heating can lead to failure. Always check your shell for imperfections after this phase. A single flaw can ruin an entire casting, so take moments to reflect on your process. Embrace the learning curve to master these techniques.
Finalizing Your Stainless Steel Casting: Finishing and Polishing Techniques
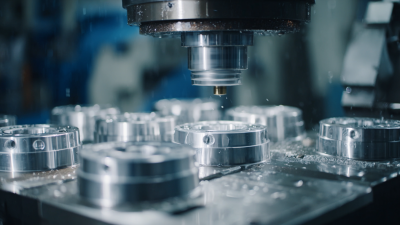
When finalizing your stainless steel casting, polishing and finishing techniques play a crucial role. Start by removing any imperfections from the surface. Inspect your cast piece carefully. Look for rough spots or small imperfections. A fine-grit sandpaper can help smooth these areas. Pay attention to details; they make a big difference in the final look.
After sanding, consider using a polishing compound. This will enhance the shine of your piece. Apply it evenly and avoid over-polishing the edges. Too much polish can create an uneven finish. Don’t rush this step. It's important to reflect on the quality of the work.
Sometimes, after polishing, you may find new flaws. Don’t be discouraged; this is part of the process. Take a moment to reassess your work and decide if further sanding is necessary. Remember, mastering these techniques takes time, patience, and a willingness to learn from mistakes. As you practice, your skills will improve, and each piece will reflect your craftsmanship.